
Vintage Ham Pinwheels – Crescent Roll Party Appetizer from the 1960s

Budget friendly, family friendly, and delicious! And as a bonus, really really pretty! The perfect use of holiday ham leftovers and a tasty main for any occasion.
Ham Pinwheels from the vintage community cookbook ‘More Saratoga Secrets’ is one of my new favorite recipes. It’s pretty simple, and very rewarding to make.

The pinwheel roll up can be intimidating, but I’ve got some tips that should help.
To start, mix together ground ham and half a can of cream of mushroom soup, then set that aside while you make the biscuit dough with flour, baking powder, and salt. Whisk those together before adding shortening (I used butter, but you can use whatever you prefer). Cut in the butter until there are no large chunks, just be sure not to over do it. The less you mix, the better.

Then add milk and mix just enough that it comes together into a shaggy dough.
Now you’ll need a cookie sheet. You don’t have to use one, but I found it’s much, much easier if you do. I used a quarter size cookie sheet, which is 9x13, and it was perfect.

Cut a piece of parchment paper to fit inside, with a little bit of overhang off one end. This will help later when you’re rolling it up. Lightly flour the paper before turning the dough out onto it, then press the dough out to fill the cookie sheet.
Flour your hands as needed, and take your time, making sure it’s spread as evenly as you can get it and all the way in the corners. Once it’s ready, it’s time to spread the ham and soup mixture on top.

Drop spoonfuls evenly around it, then gently spread it evenly across. It spreads pretty easily, but take your time and make sure it’s level and all the way to the edges before sprinkling with parsley. The recipe calls for a teaspoon of dried parsley, but I used fresh, which I think comes out prettier, so if you choose fresh, use at least a tablespoon or more.

Now you’re ready to roll! Grab on to the piece of overhanging paper and begin slowly tucking it into as tight of a roll as you can. If the dough sticks to the paper, use floured fingers to gently separate it. Go slow, and if, in the end, it seems too loose and sloppy like mine did, don’t panic, just transfer it to a floured surface and keep rolling it up tighter and tighter, while pushing the ends in periodically, until it looks snug and even.

Make sure the seam is tucked underneath so it as secure as possible. The recipe doesn’t mention it, but I threw mine in the freezer for 10 or 15 minutes at this point to make it easier to handle and it really helped with cutting.
Before cutting, give it a few rolls to make sure it’s nice and round, and pat the ends flat before cutting with a very sharp knife into one inch slices. Don’t worry if cutting misshapes them, it’s easy to re form them back into circles.

Transfer them to a greased baking sheet, and bake them until golden brown. While they are in the oven, you can make the sauce.
All it takes is the other half of that can of cream of mushroom soup you set aside, plus a little bit of milk. Warm it up until it is smooth and bubbling hot. That’s it! I was so happy how mine came out. Even the ones that looked messy before baking came out nice, and boy are they tasty!

Salty sweet ham, crunchy, buttery biscuit, and creamy gravy. A real crowd pleaser. I loved how versatile they were. They could hold their own at a fancy brunch or pack well for a casual picnic. Great for anything, really.
I’m so glad Millie Raiche was kind enough to share her recipe in her community’s cookbook. It was really wonderful, and I look forward to making it again. I hope you enjoy it as much as I did and I hope it encourages you to cook more old recipes.
KITCHENWARE USED IN THIS RECIPE


Other Posts in this Series
-
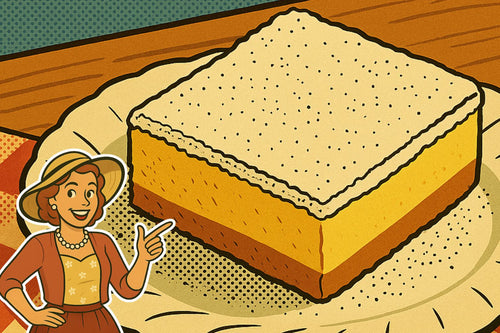
Vintage Lemon Bar Recipe
-
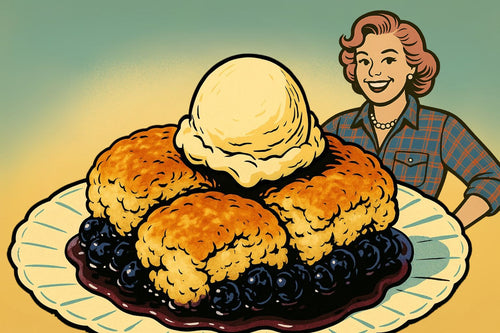
Vintage Cobbler & Grunt Recipes – Old-Fashioned Skillet Fruit Desserts
-

Bride’s Pride Casserole – Fresh Vintage Twist on a Family Favorite
-

Mom’s Spanish Macaroni with Ground Beef & Stewed Tomatoes
-

Fighting Shrinkflation with Homemade Boxed Cake Mix Bonus Flavors
-

How to Make Self-Rising Flour at Home – Quick DIY Guide
-

Fruit Cake - The Most Hated Holiday Dessert
-

Vintage Casseroles


