Vintage Cobbler & Grunt Recipes – Old-Fashioned Skillet Fruit Desserts

Did you know there is actually only one kind of cobbler? I always thought it was a collective word for all the different kinds, a classification, not a specific type. Kind of like casserole or pasta, it didn’t matter what was in it or the shape it was, right? Wrong, apparently! There is only one true blue, technical cobbler.
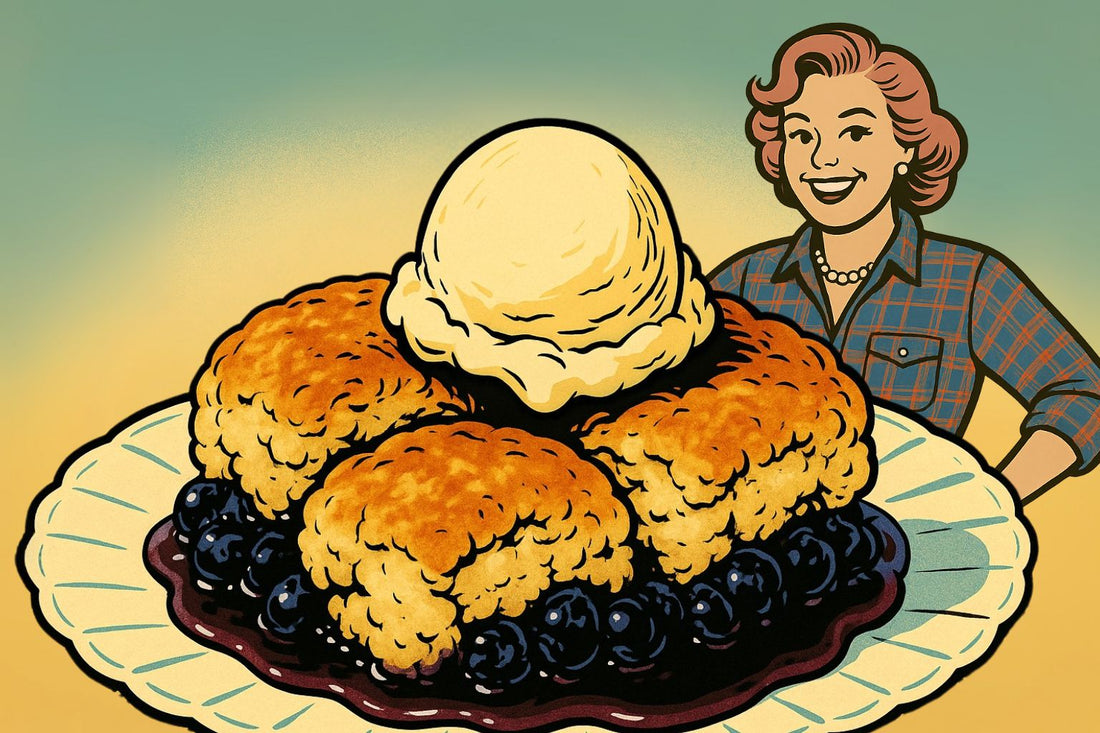
It’s the biscuit topped cobbler, which is where cobblers get their name. Because the baked biscuits look like a cobblestone street. Who knew?

I’m still going to call all the different types cobbler, because I think it’s evolved over time to refer to them collectively, but if you really want to get nerdy about it, there’s an argument to be made. But I’ll take any excuse to make biscuits, so I wanted to show you how to make a classic cobbler, but with a twist, too.
See, there’s another kind of cobbler that is just as old, and uses the same biscuit dough. The only difference is the technique you use to make it. It’s an extra unique kind of cobbler, just as old, and just as tasty, made originally in the New England region.
It’s called a Grunt, or sometimes a Slump. If you’re as unfamiliar as I was before now, a Grunt is a biscuit cobbler, just like the original, but instead of baking the biscuits on top to crunchy golden perfection, the biscuits are steamed in a pot of simmering sweetened fruit, like dumplings. The result is an especially tender biscuit, delicate fluffy clouds, soaked in sweet fruit juices. They are incredible, and if you’re a fan of dumplings, this extra special cobbler will be your new favorite.
I thought I would show you both at the same time so you can see how different the two come out, despite using the same recipe, the only difference being cooking technique.

So, we’ll start with the classic cobbler. I’m going to use my all-time favorite biscuit recipe, Best Ever Biscuits, out of the vintage ’Rock Creek Mobile Home Park’ community cookbook from by Edna Burton. If you’d like to view the original post that goes into more depth about how to make them, you can see it here :
BEST EVER BISCUITSOtherwise, I’ll show you briefly how to make them here. But if biscuit making is new for you, check out my post about the best biscuit tips and techniques. If you’re comfortable with making biscuits already, we’ll dive right in.

To begin, we’ll get our fruit filling ready. Use whatever fruit you can get ripe at the moment, and add sugar and lemon juice. How much sugar you add will depend on the fruit you use. I’m using very sweet extra-ripe blueberries I am lucky enough to have in my area, so I’ll only use a 1/2 cup, but if you’re using a tart fruit, you can use up to a whole cup. Don’t worry, it’s a very forgiving recipe, so just use your judgement.

Pour that into a baking dish, and set it aside while we make biscuits.
Whisk together flour, sugar, baking powder and salt in a large mixing bowl, then add butter. Make sure your butter is extra cold, and cut it into chunks before you put it in. You can use a pastry cutter if you have one, but I prefer using my hands to cut the butter in. Under mixing is better than over mixing with biscuits, so stop as soon as you can, leaving plenty of large chunks of butter.

Now set that aside for a moment to crack an egg into milk. I prefer buttermilk, but any milk will do fine. Give that a light whisk, then add it to the flour butter mixture. Once again, mix as little as possible, just until it comes together. Don’t worry if it’s an extra shaggy dough, with biscuits, I’ve found the uglier the dough, the tastier the biscuit.

Now it’s time to top our cobbler. If you have a fancy scoop, feel free to use it. I’m going to use just two basic spoons, so you can see that you don’t need any special tools or gadgets.
Spoon a scoop of dough about the size of a ping-pong ball, then use the second spoon to scrape it onto the fruit. I recommend starting in the middle and working your way out, Just in case you don’t have enough to cover the entire thing, but it’s pretty easy to move things around if you need to.
Make sure the biscuits are touching, but not on top of each other. Once all the dough is used up, you’re done! I like to sprinkle a bit of sugar on top, totally optional, but it gives it a nice texture when you’re eating and a bit of extra color in the bake.

Now it’s time to go in the oven! You’ll know it’s done when the fruit filling is bubbling all around the edges and the biscuits are a nice golden brown on top.
So, you’ve made a cobbler. Beautiful sweet bubbling fruit topped with buttery biscuits. A simple classic. Now let’s set that aside to cool as I show you how to make a Grunt using the exact same recipe but a very different cooking technique.

So instead of using a baking dish, we are going to be cooking our grunt in a Dutch oven. You can use a deep skillet, just make sure it has a lid.
Just like the first cobbler, we start with our fruit and add sugar and lemon juice. The only extra thing will add is a cup of water. Give it a good mix, then turn the heat on to low. Low heat is important for a few reasons. First is that it’s easy to burn, and second is that whenever you make dumplings, you’ll always want the liquid at just a light simmer, otherwise the delicate dumplings might come apart.

So let’s let that come to a simmer while we make another batch of biscuits. Same as last time, start with your dry ingredients, flour, sugar, baking powder, and salt, then cut in cold butter until just mixed. Occasionally, check on your fruit, giving it a light stir, and monitoring how close it’s getting to a simmer.
Then, whisk an egg into milk, and add it to the flour and butter. Lightly mix until just blended into a shaggy dough. Your biscuit dough is now ready to steam.

Check on the fruit to make sure it’s simmering, then use the same technique as last time to spoon ping pong ball sized dough scoops into the fruit. Work as quickly as you can, and same as last time, place them next to each other, but not on top of each other. As soon as all the dough is in, place the lid back on and steam them for 15 minutes.
It can be hard to test when dumplings are done, but the timer has never failed me yet, so just trust the instructions, and they’ll come out great. They are going to continue cooking as it cools, so don’t panic if you think they are underdone. After 15 minutes, remove the lid, and enjoy the beautiful sights and smells of steamy fruity dumpling heaven.

It’s best to let it cool before serving. The dumplings will have a chance to firm up and the sauce will thicken nicely, so be patient if you can stand it.
Apparently, the traditional way of serving a Grunt is to scoop a dumpling out and flip it upside down, plating it bottom side up, then scooping a spoonful more berries and sauce on top. And of course, no cobbler is complete without a scoop of ice cream.
So now you have it - one of America’s oldest cobblers, a Grunt. The dumpling is so tender and delicate, absolutely divine with the rich sweet fruit. And then you also have the traditional baked biscuit cobbler with its crunchy golden brown top, and syrupy sweet fruit - just as delicious.

Isn’t it amazing that the same ingredients can make two such different desserts? It’s impossible to pick which is tastier. It just comes down to whether you prefer baked golden brown biscuits or tender steamed dumplings. The baked cobbler definitely has a prettier presentation, but the benefit of the Grunt is you don’t have to turn your oven on in the heat of summer.
What do you think? Which would you prefer?

I do hope you enjoyed learning about cobbler in two of its many forms. I have shared several other cobbler types, so be sure to check them out at the bottom of the page. You’d be shocked how many forms this humble dessert has taken over the decades.
As always, thank you so much, Edna, for sharing your absolutely perfect biscuit recipe in your community’s cookbook. I am so grateful to be able to appreciate it. I hope this encourages you to treasure vintage spiral bound community cookbooks, and cook more old recipes.
KITCHENWARE USED IN THIS RECIPE


Other Posts in this Series
-
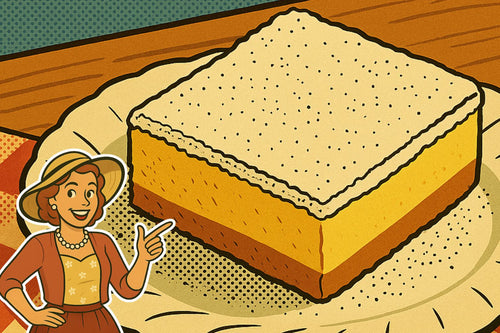
Vintage Lemon Bar Recipe
-
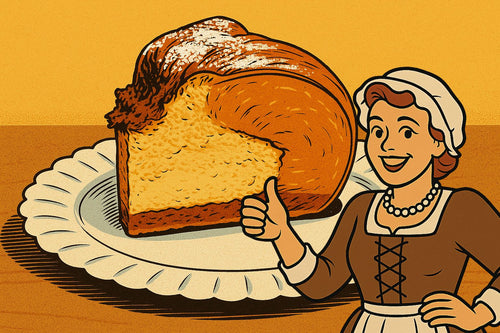
Ancient Pumpkin Pie Recipe – Old-Fashioned Fall Dessert from the Past
-

Vintage Buckle Cobbler Recipe — Classic Upside-Down Fruit Dessert
-
My Mom’s Chocolate Cream Pie
-

Vintage Ham Pinwheels – Crescent Roll Party Appetizer from the 1960s
-

America’s Sweetheart, Pumpkin
-

Vintage Leftover Ham Recipes Using Ground Ham
-

Vintage Easter Ham Glaze


