
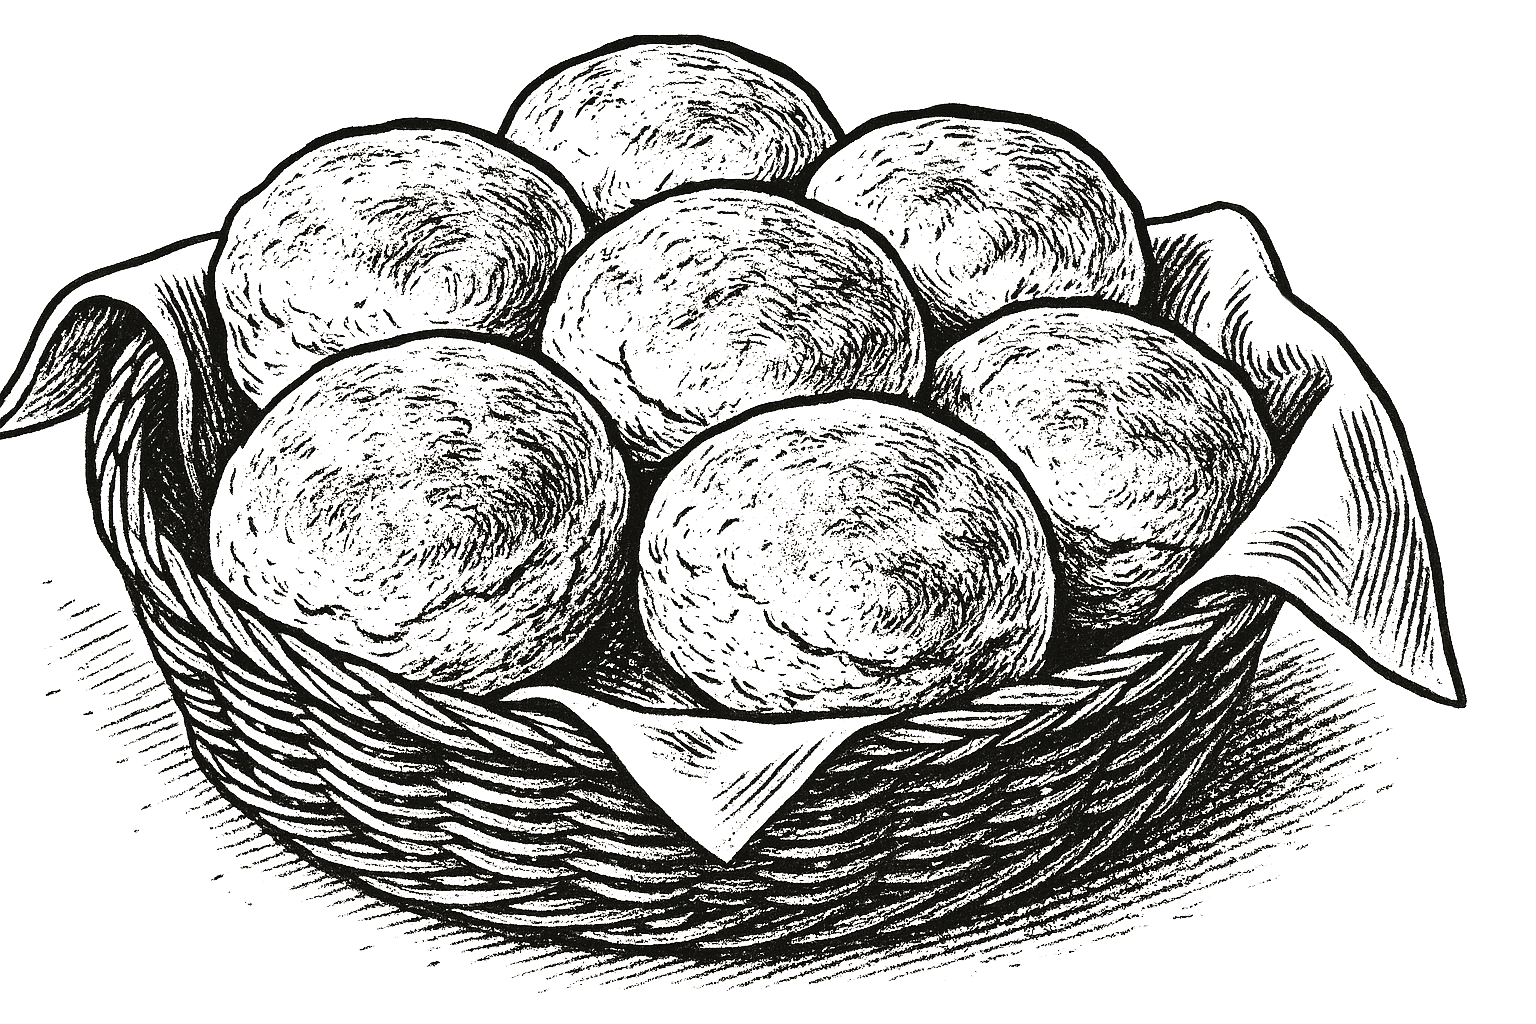
Vintage Angel Flake Biscuits – Fluffy, Yeasted & Golden
I’ve always wanted to make a yeast biscuit. It’s actually a more original method for biscuits, but one I’ve never tried, so I was looking forward to trying this recipe forAngel Flake Biscuits from Elizabeth Derby, and they did not disappoint.

It’s not my personal favorite style of biscuit, but that’s one of the things I love about biscuits. There is no best or right style, it’s a personal preference, full of self-expression and nostalgia - everything a true home-cooked recipe should be. And, while I love how tender and flaky most biscuits are, they’re usually way too delicate and crumbly to make a decent breakfast sandwich, as opposed to these more chewy and sturdy ones which are absolutely perfect for replacing the fast-food versions, not to mention cheaper!
To make them, you start by dissolving the yeast in warm water. If you’re unfamiliar with dissolving yeast, you want your water between 110 and 120. Too cold, it won’t wake up, too warm and you’ll kill it before it gets started. Usually tap hot is pretty close, but use a thermometer if you’re insecure at all. Set that aside while you start the rest.

Sift together all your dry ingredients, so flour, baking soda, baking powder, salt, and sugar, then cut in shortening.
Make sure your shortening is cold and don’t overmix it. Unlike cake or bread recipes, it’s better to under-mix than over-mix. You want to see lots of chunky pieces of fat throughout the flour, so resist the urge to get it perfectly blended. Remember, biscuits are rustic in every way, including the mixing, and the less you blend, the better the biscuit.
As soon as the fat is, not-so-perfectly mixed in, blend the dissolved yeast with buttermilk and pour that into the flour mixture. Mix together just until there is no more dry flour visible. Again, don’t overmix, blend just enough, then stop as soon as you can.
From there, cover the dough and refrigerate for at least a few hours. According to the cookbook, it can be used right away, but the texture is better if you let it rest for a bit, even overnight or longer.
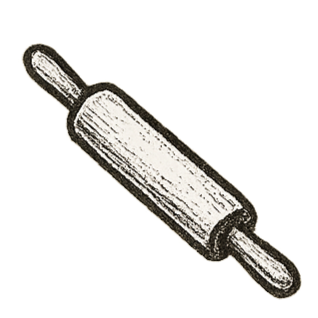
After resting, roll the dough out to 1/2 in to 3/4 inch thick. I like a taller biscuit, so usually stop at 3/4 inch.
Cut out with a biscuit cutter. I used a 3” cutter, which worked great, but you can go smaller if you prefer. Just remember, when cutting biscuits make sure you cut straight down, and lift straight back up. Resist the urge to twist the cutter at all. It’s natural to want to give it wiggle to make sure it cuts all the way through, but that causes what’s called ‘binding’. If you’ve ever had a biscuit that didn’t rise properly, or rose kind of wonky, off to one side, that’s what happened. The top and bottom got bound together by twisting the cutter, and prevented a proper rise. So, straight down, straight up, for biscuit perfection.
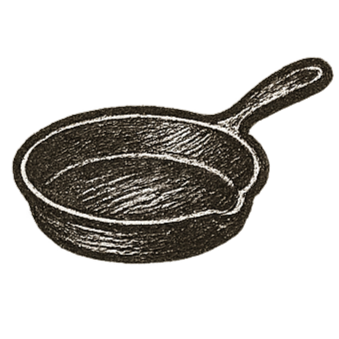
Now they are ready to drop into a cast iron skillet. I truly believe a good quality cast iron skillet is the only way to bake a great biscuit. I made a separate video about general biscuit tips if you want to know why I will die on that hill, so I won’t take your time now, but I encourage you to watch it if you’re at all curious.
Click here for perfect biscuit tipsPlacement of the biscuits is surprisingly important as well. You want them close enough together that they support each other to rise up as much as possible, while making sure they have enough room to grow.
The pan size matters too, believe it or not, and for the same reason, the sides of the pan should support the ideal rise, without being restricting, so try to choose the smallest pan possible, leaving only a small gap around the outside. I’ll show you what a difference it can make after these are baked.
This recipe makes a very large batch of biscuits, so I used two skillets - one a size 8, and another size 7. Start with the center biscuit and then place a ring of the others around that one. How many you can fit depends on the size of the pan you choose.
The recipe says bake for 12 minutes, but I’ve noticed when you bake in cast iron, it usually tacks on a few extra minutes, again, I’ll went into why in the separate biscuit tips post, so look for that if you want to know, but just be aware, it’s a possibility.

Mine took 15, so don’t be afraid to let them go. Unlike a cake or loaf of bread, there’s no way to test biscuit’s doneness, outside of looking for golden brown tops, so trust your instincts, and also make sure you let them cool in the skillet for at least 5 or ten minutes before taking them out to serve. A high quality skillet will stay warm for quite some time, so this gives them a little extra time to make sure they are cooked in the middle, and leaving them snuggled together in the pan will ensure they won’t dry out.
If you would like to see why pan size matters, and how the biscuits in the bigger pan came out quite a bit shorter than the ones in the smaller pan, be sure to watch the recipe video above. It shows you what a difference pan size makes.
Oh, and as a bonus, you may have noticed I didn’t use the dough left behind from the first cutting. Normally, I would reform and roll and cut that dough for a second-cut, but Elizabeth mentions in her recipe that this dough will actually keep for weeks in the fridge, so instead of making more right away, I gathered it up in a bowl, sealed it with an air-tight lid, and put it back in the fridge.
The dough just got tastier with time, and a few days later, I used it to whip up delicious breakfast sausage roll ups. It was so handy having ready-made dough in the fridge. It was a total biscuit hack, so I would encourage you to do the same. So, thank you so much, Elizabeth, for sharing your wonderful recipe in the vintage Rock Creek Mobile Home Park community cookbook, I am so grateful, and I hope it encourages you to make more old recipes.
LOVE THIS RECIPE? GET TO KNOW THE VINTAGE COMMUNITY COOKBOOK ITS FROM.
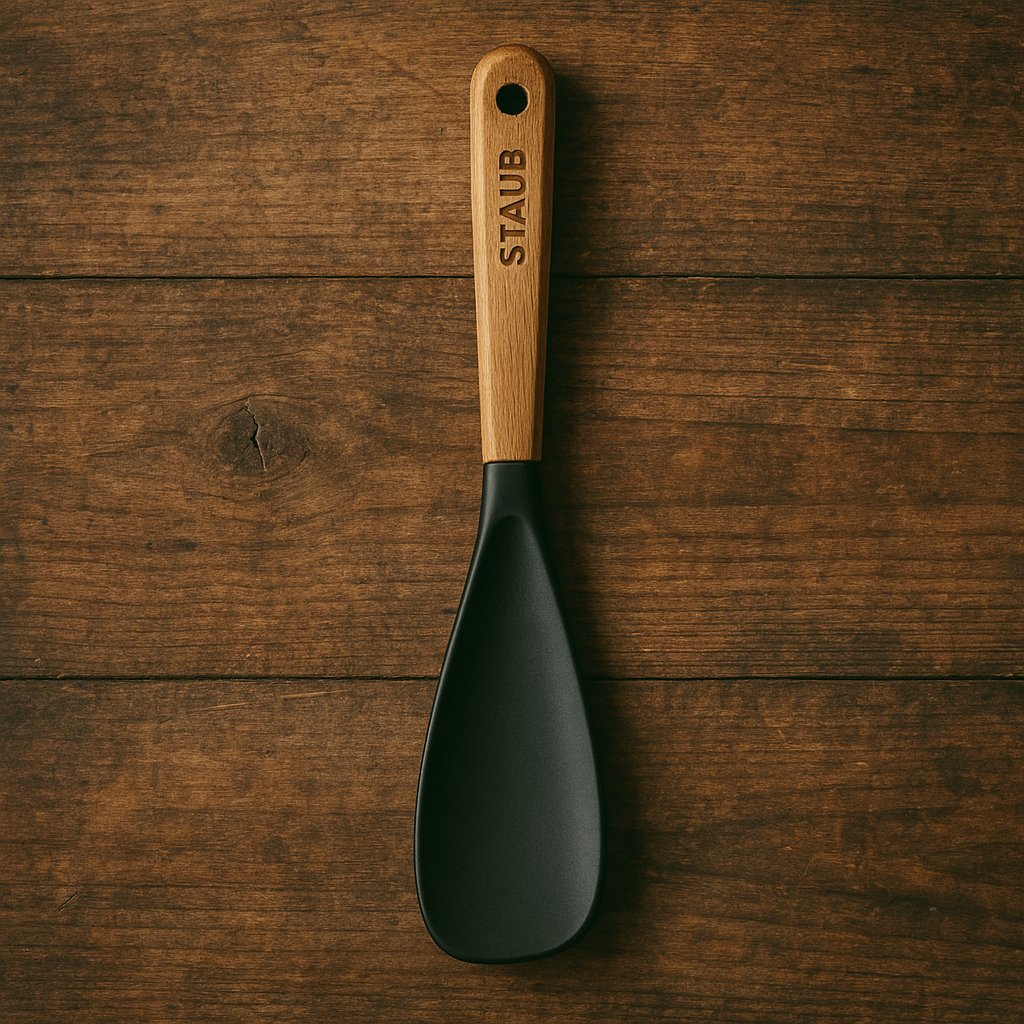
KITCHENWARE USED IN THIS RECIPE

Other Posts in this Series
-

Cherry Champagne Cocktail – Easy Vintage Party Drink
-

How to Make Old-Fashioned Pickled Dill Beans — Easy Water Bath Recipe
-
Vintage Cobbler & Grunt Recipes – Old-Fashioned Skillet Fruit Desserts
-

Vintage Appalachian Sonker Cobbler (Old-Fashioned Fruit Dessert)
-

2-Ingredient Whipping Cream Biscuits – Easiest Vintage Biscuit Ever
-

America’s Sweetheart, Pumpkin
-

Vintage Leftover Ham Recipes Using Ground Ham
-

How to Bake a Pumpkin


